
Introduction
Custom boxes with logo gain much attention for business organizations as they can create custom boxes with logos on it. They enhance branding and people are in a position to remember brands that they come across. Designing such boxes isn’t rocket science and it can save a bunch of time if one coordinates with the other it’ll save even more. In this article, five steps are outlined and explained briefly on how you can quickly make them.
Step 1: Plan the Box Design
First of all as a concept, one should dwell on the design. Sketch ideas on paper. Choose the size, color and design. Consider what kind of appearance and texture of the Custom Mailer Box with logo would wish to get. When picking out a logotype, the design should reflect the product it is representing. It is best to keep formats clear and quite minimalistic. The need to place logos in conspicuous areas increases the chances that people will keep remembering the brand. Remember the role of the box – food, jewelry, clothes etc.
Step 2: Choose Durable Materials
The right material is far more beneficial to a box as far as strength and looks are concerned. Cardboard and kraft paper can be used for custom boxes with logo cheap. All these options are environmentally friendly and cheaper to implement. Delicate products require that you use thicker materials in creating and designing them. The box should be able to protect the items during transportation. Choose items that can be printed conveniently. The logo and design are prominent from other content since they are on the smooth background.
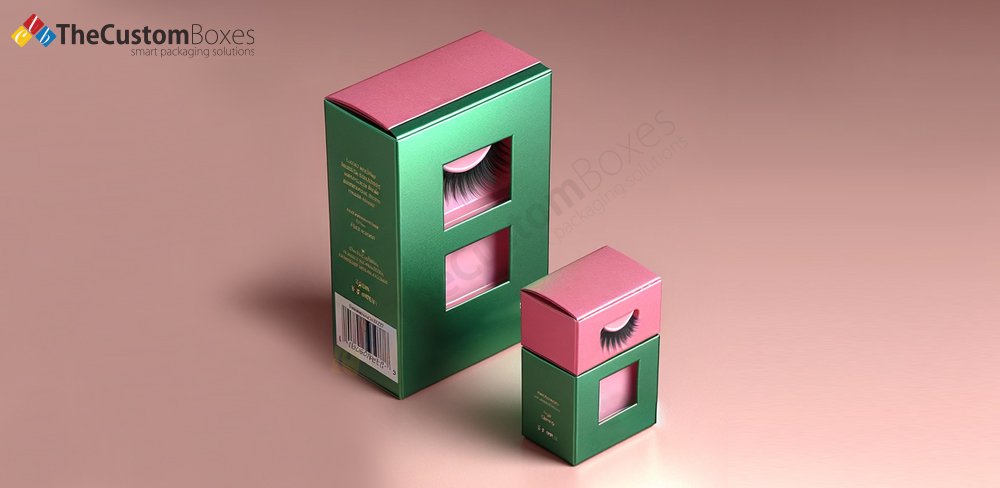
Step 3: Design the Logo Placement
After this, determine the position for the logo. Put it where people’s eyes are immediately drawn towards it. The frame at top of the box offers a good fit. Some designs have logos on all sides to ensure visibility is kept at its highest levels. Do not overemphasize the logo or underemphasize it, or over-complicate it. Select colors that are appropriate to the brand. Spend some time trying different ones to see what looks nicer. Do not distort the logo for it to look blunt, choose a sharp and clean looking logo.
Step 4: Add Creative Features
It is the extra convention that clothes up the box that makes the company logo mailer boxes special. Insert patterns, images or messages into the design. Make the requisite use of colours and textures and textures to achieve a luxury look. A see-through section in the box will mean that the product inside will also be visible. It should come with handles if it will be easy to carry from one place to another. Consider how to be customer centric to be able to surprise the customers. There are extra touches to enhance such as gloss or embossing to give it that luxury feel. Most prints leave an indeterminable impression on the artistic consciousness.
Step 5: Work with a Reliable Printer
Lastly, one needs to look for a printing service which can give life to the design in a most appropriate way. Discuss your work with the printer and try to share your ideas and design with him. Select good ink and other related tools to be used by the printer. Request for sample prints to determine the quality of print work before going large scale. After that, reconsider the final design and approve it. The organization of the boxes is very effective if there is good communication with the printer.
Final Thoughts
Having a logo on Custom Boxes with Logo enhances the value of any product. An appealing and properly designed box is a short narrative and it assures. These are the five steps to use in designing something special. A good box is not just a holder for a product – it’s an experience. You must consider The Custom Boxes for the affordable logo mailer boxes worldwide. They are gaining popularity due to their wonderful packaging services. You must be content with them right now. Customers' trust and satisfaction are their first priority.
0 Comments
Post Comment